I Fell In Love With Split Keyboards
The Wonderful World Of Split Keyboards
Do you lube your stabs with Krytox 205g0 or Tribosys 3203? Do you like a clicky switch or a thocky one? Do you think Colemak Dhm would be nicer on the Ergodox or the Iris? 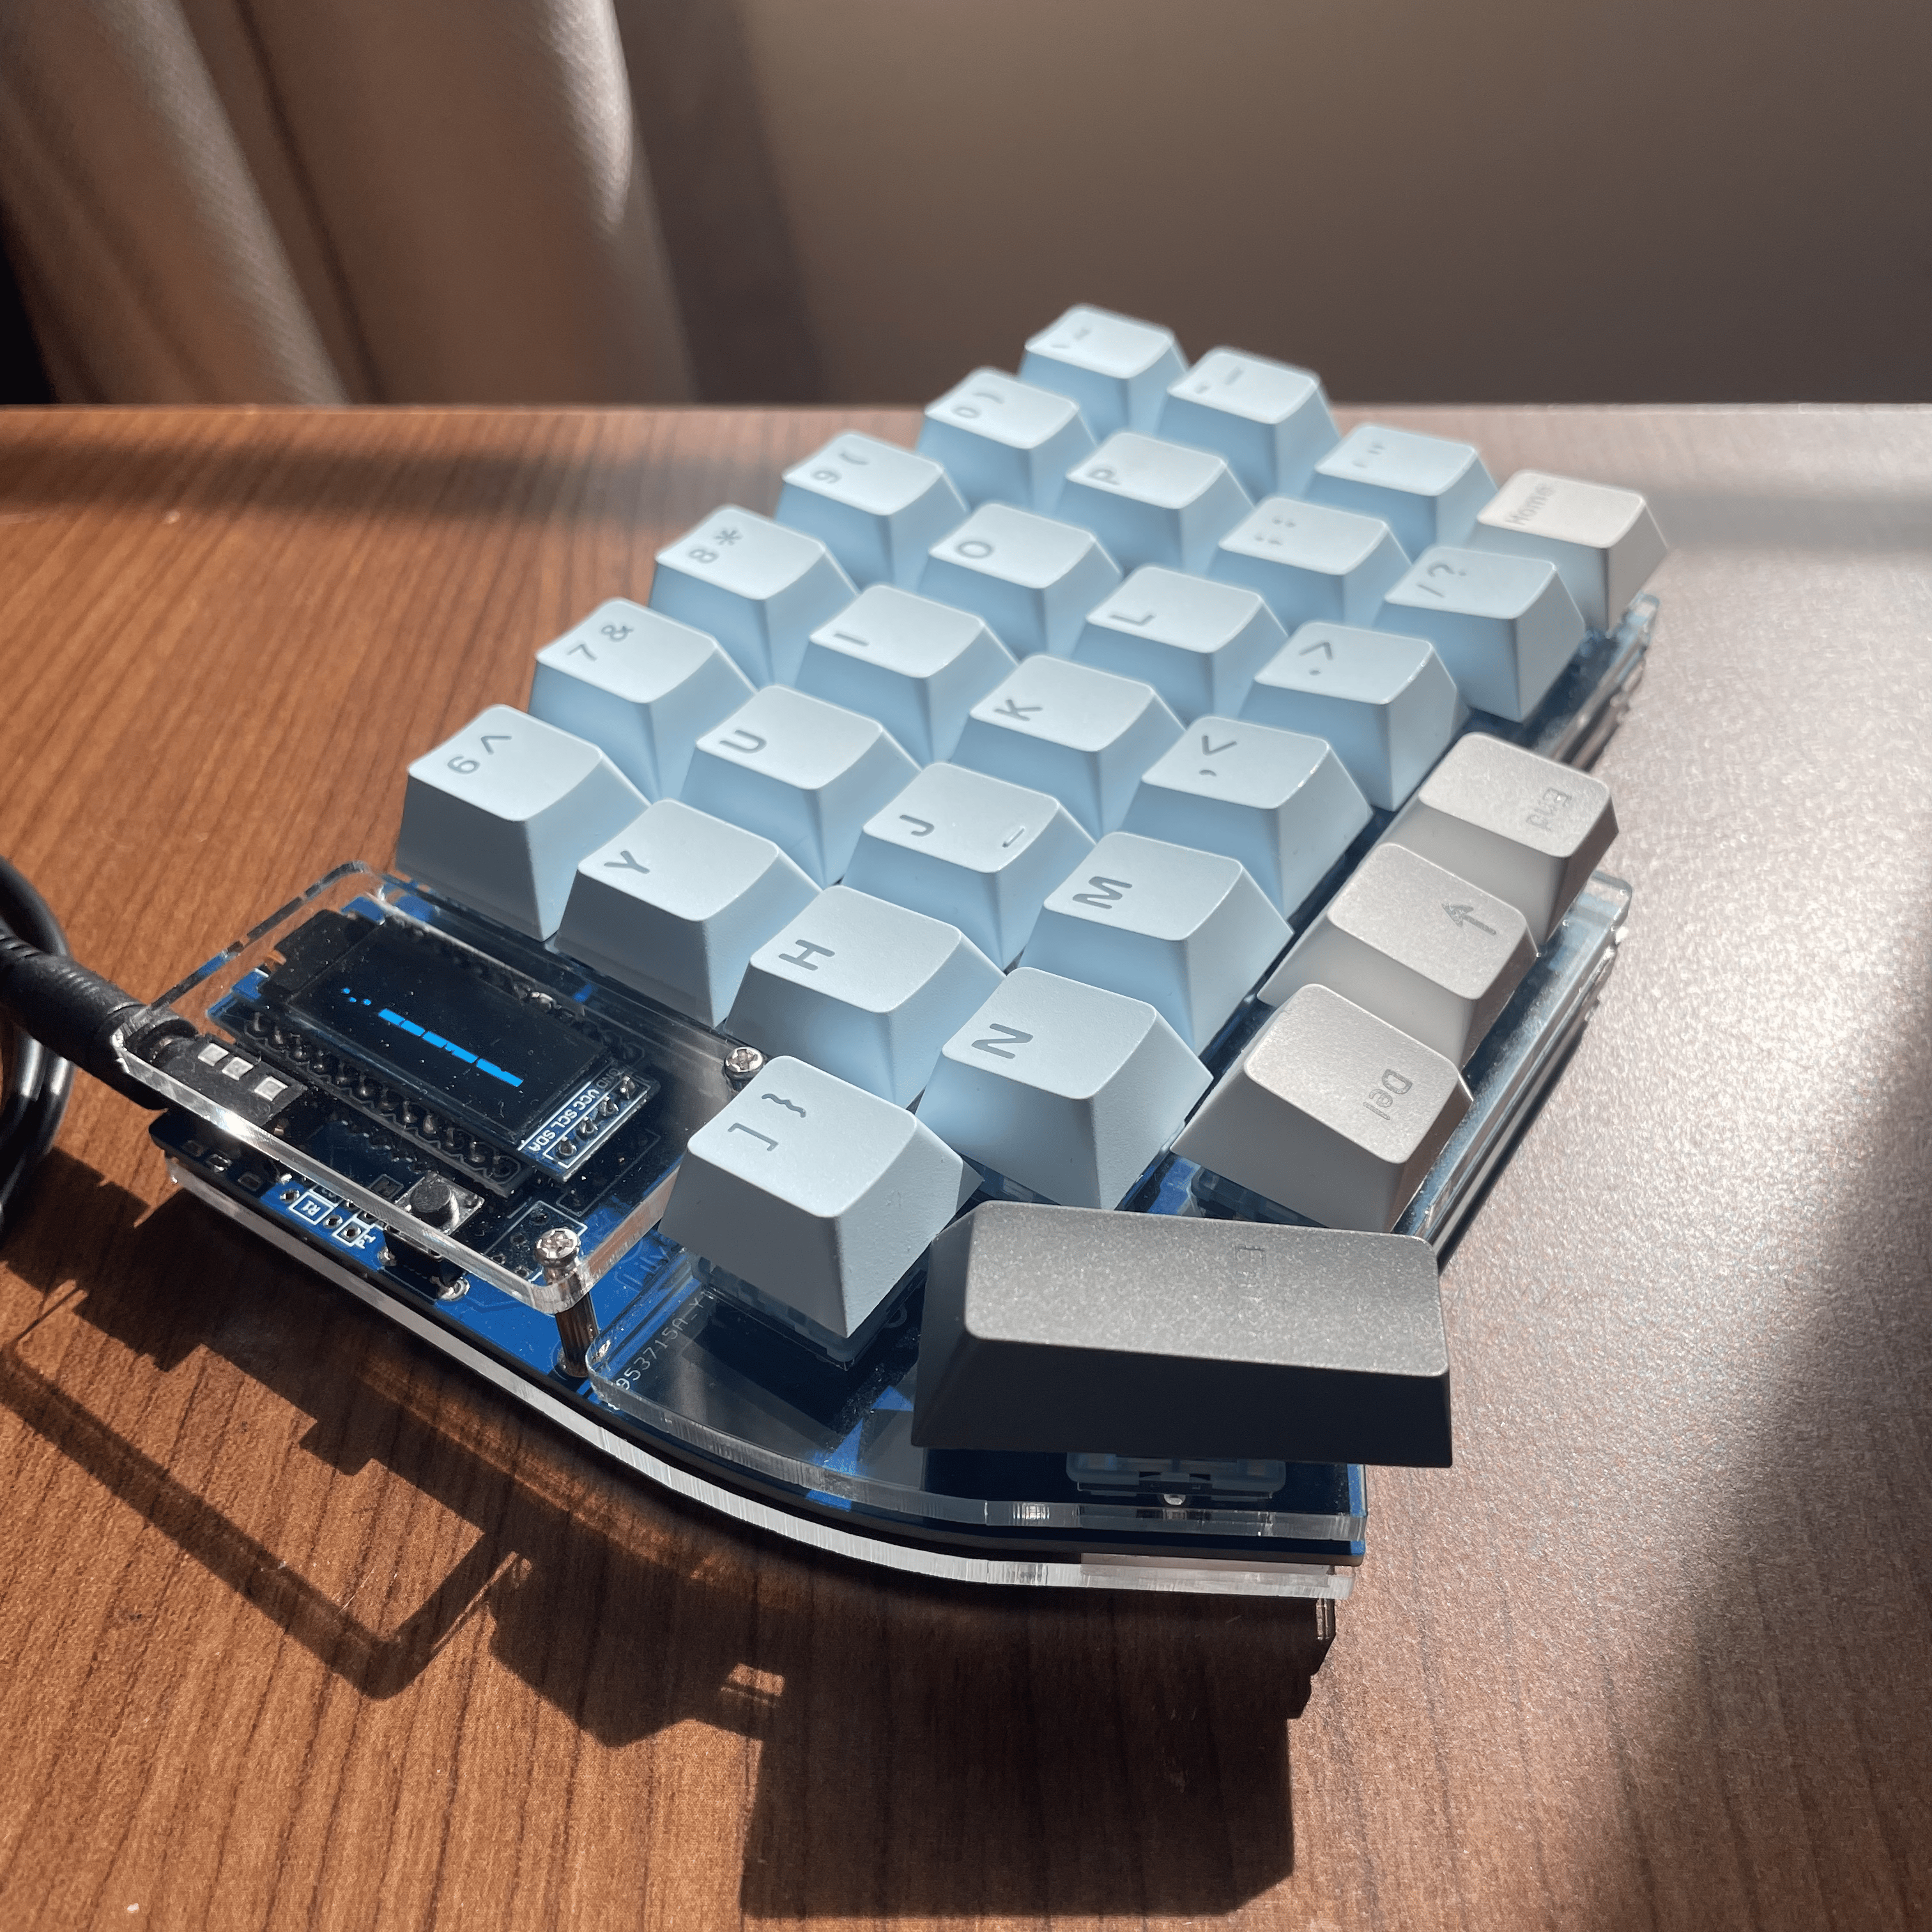
These are some of the mind-boggling questions you may encounter if you stumble upon the front page of r/ErgoMechKeyboards. As a hobby mostly populated with engineers and software developers, you’ll find much of the same jargon and techno-babble used to describe cutting-edge technology now finding it’s way to describe a tool that is where it all started: the humble keyboard.
This post will be about my journey into this world of split, columnar layout, ergonomic mechanical keyboards, or “Split Ergos” for short. From the adventure of sorting through the myriad of open-source designs to finally building one for myself, I can truly say I fell in love with split keyboards.
Finding a Keyboard
If you found yourself here on this post, you may be in the same boat I was a few months ago, wading through the endless builds and parameters that are available to you, all open-sourced and all equally confusing. Do you want staggered rows or columnar? What does that even mean?
Something I found early on is that the custom keyboard community, due to it’s open-source nature, will take one design and tweak it a little bit, then release it as a “new keyboard”. This leads to a Corne with a number row, like the Lily58, or a Lily58 with a rotary encoder and an extra thumb key, leading to the Sofle. You get the idea.
At the end of the day, one has to scroll, watch, and read their way through the ever-mounting pile of jargon and designs and do the hardest part of the whole process of getting into split keyboards: choosing a design. I say this is the hardest part because once you decide, every step after is just buying parts and following a build guide.
My tip to you is to visit jhelvy’s wonderful keyboard comparison site at splitkbcompare. Here you can browse the many layouts available, print them out (true-to-size) on a sheet of paper, and play around with how touching and reaching for all the keys would feel. Using this tool I ended up being confident in my decision to go for a Lily58.
Why The Lily58?
Most people’s first contact with this alien world is the Corne. Being the most popular board, it surprises me how small it is. I guess when people go split, they also want to go minimal. But I knew this wasn’t for me, as I love a number row, and just having more keys in general. I guess I am used to my HyperX Alloy Origins 60, which is basically just a full size Lily58, with a function layer to turn the number row into a function row.
So after browsing other designs and printing the Lily58 out with jhelvy’s site, I knew it was time to start buying parts!
Buying and Building
I am not a big electronics project guy. I am still confused as to how one can input the parameters they want from Mouser’s and Digikey’s product filter menu, and still end up with 45 different variations of a 5mm M2 hex head machine screw. So to make my life a little easier, and knowing there was a lot of new experiences to be had that were unavoidable, I decided to order all my parts from Amazon. This is not economic at all, and for future builds I will definitely be ordering from AliExpress, where there are cheap hardware kits available, or a proper electronics distributor.
With all the components I needed detailed in kata0510’s build guide, I was still left to order a PCB and needed a case. The PCB I handled through JLCPCB at the recommendation of a friend from work. I got a better deal from them than the more popular PCBWay so one more step was sorted out.
However, a word of caution: triple check everything! This was my first PCB order ever, and I was happy enough to be able to check the files in KiCad and then see the same 3D model show up on JLCPCB’s website. The problem was that I accidentally reviewed, submitted and ordered the PCB for the Lily58 and not the Lily58 Pro. The difference? No support for hotswap sockets, which allow me to plug-and-play different keyboard switches whenever I want. Without them I had to solder my switches directly to the board, which is not a big deal. Not knowing this until it arrived, the only loss was a $10 bag of sockets that I may use on another build anyways. Not a bad way to learn a valuable lesson!
The last piece of the puzzle was the case. This was the easiest part but took the longest time, as I had to wait through the Christmas holidays to be able to go to my local library’s makerspace to use their laser cutter. How many people have that option available? For the low price of 25$ for the materials and 3$ for an hour of cutting time (of which I only used about 2 minutes), I was able to setup and cut my case from a piece of acrylic during the same session in which I was instructed and certified to use the machine. Wonderful! If no laser cutters or 3D printers are available locally, there are many options online as well, usually from electronics and PCB manufacturers like the ones I’ve mentioned already.
I won’t detail the build here as the guide does a much better job. Just take your time soldering, and if you have never done it before, use one of the extra PCB’s from your minimum order and some extra components to practice on. You’ll get the hang of it in no time.
The Finished Product
A picture (or two) is worth a thousand (two thousand?) words. 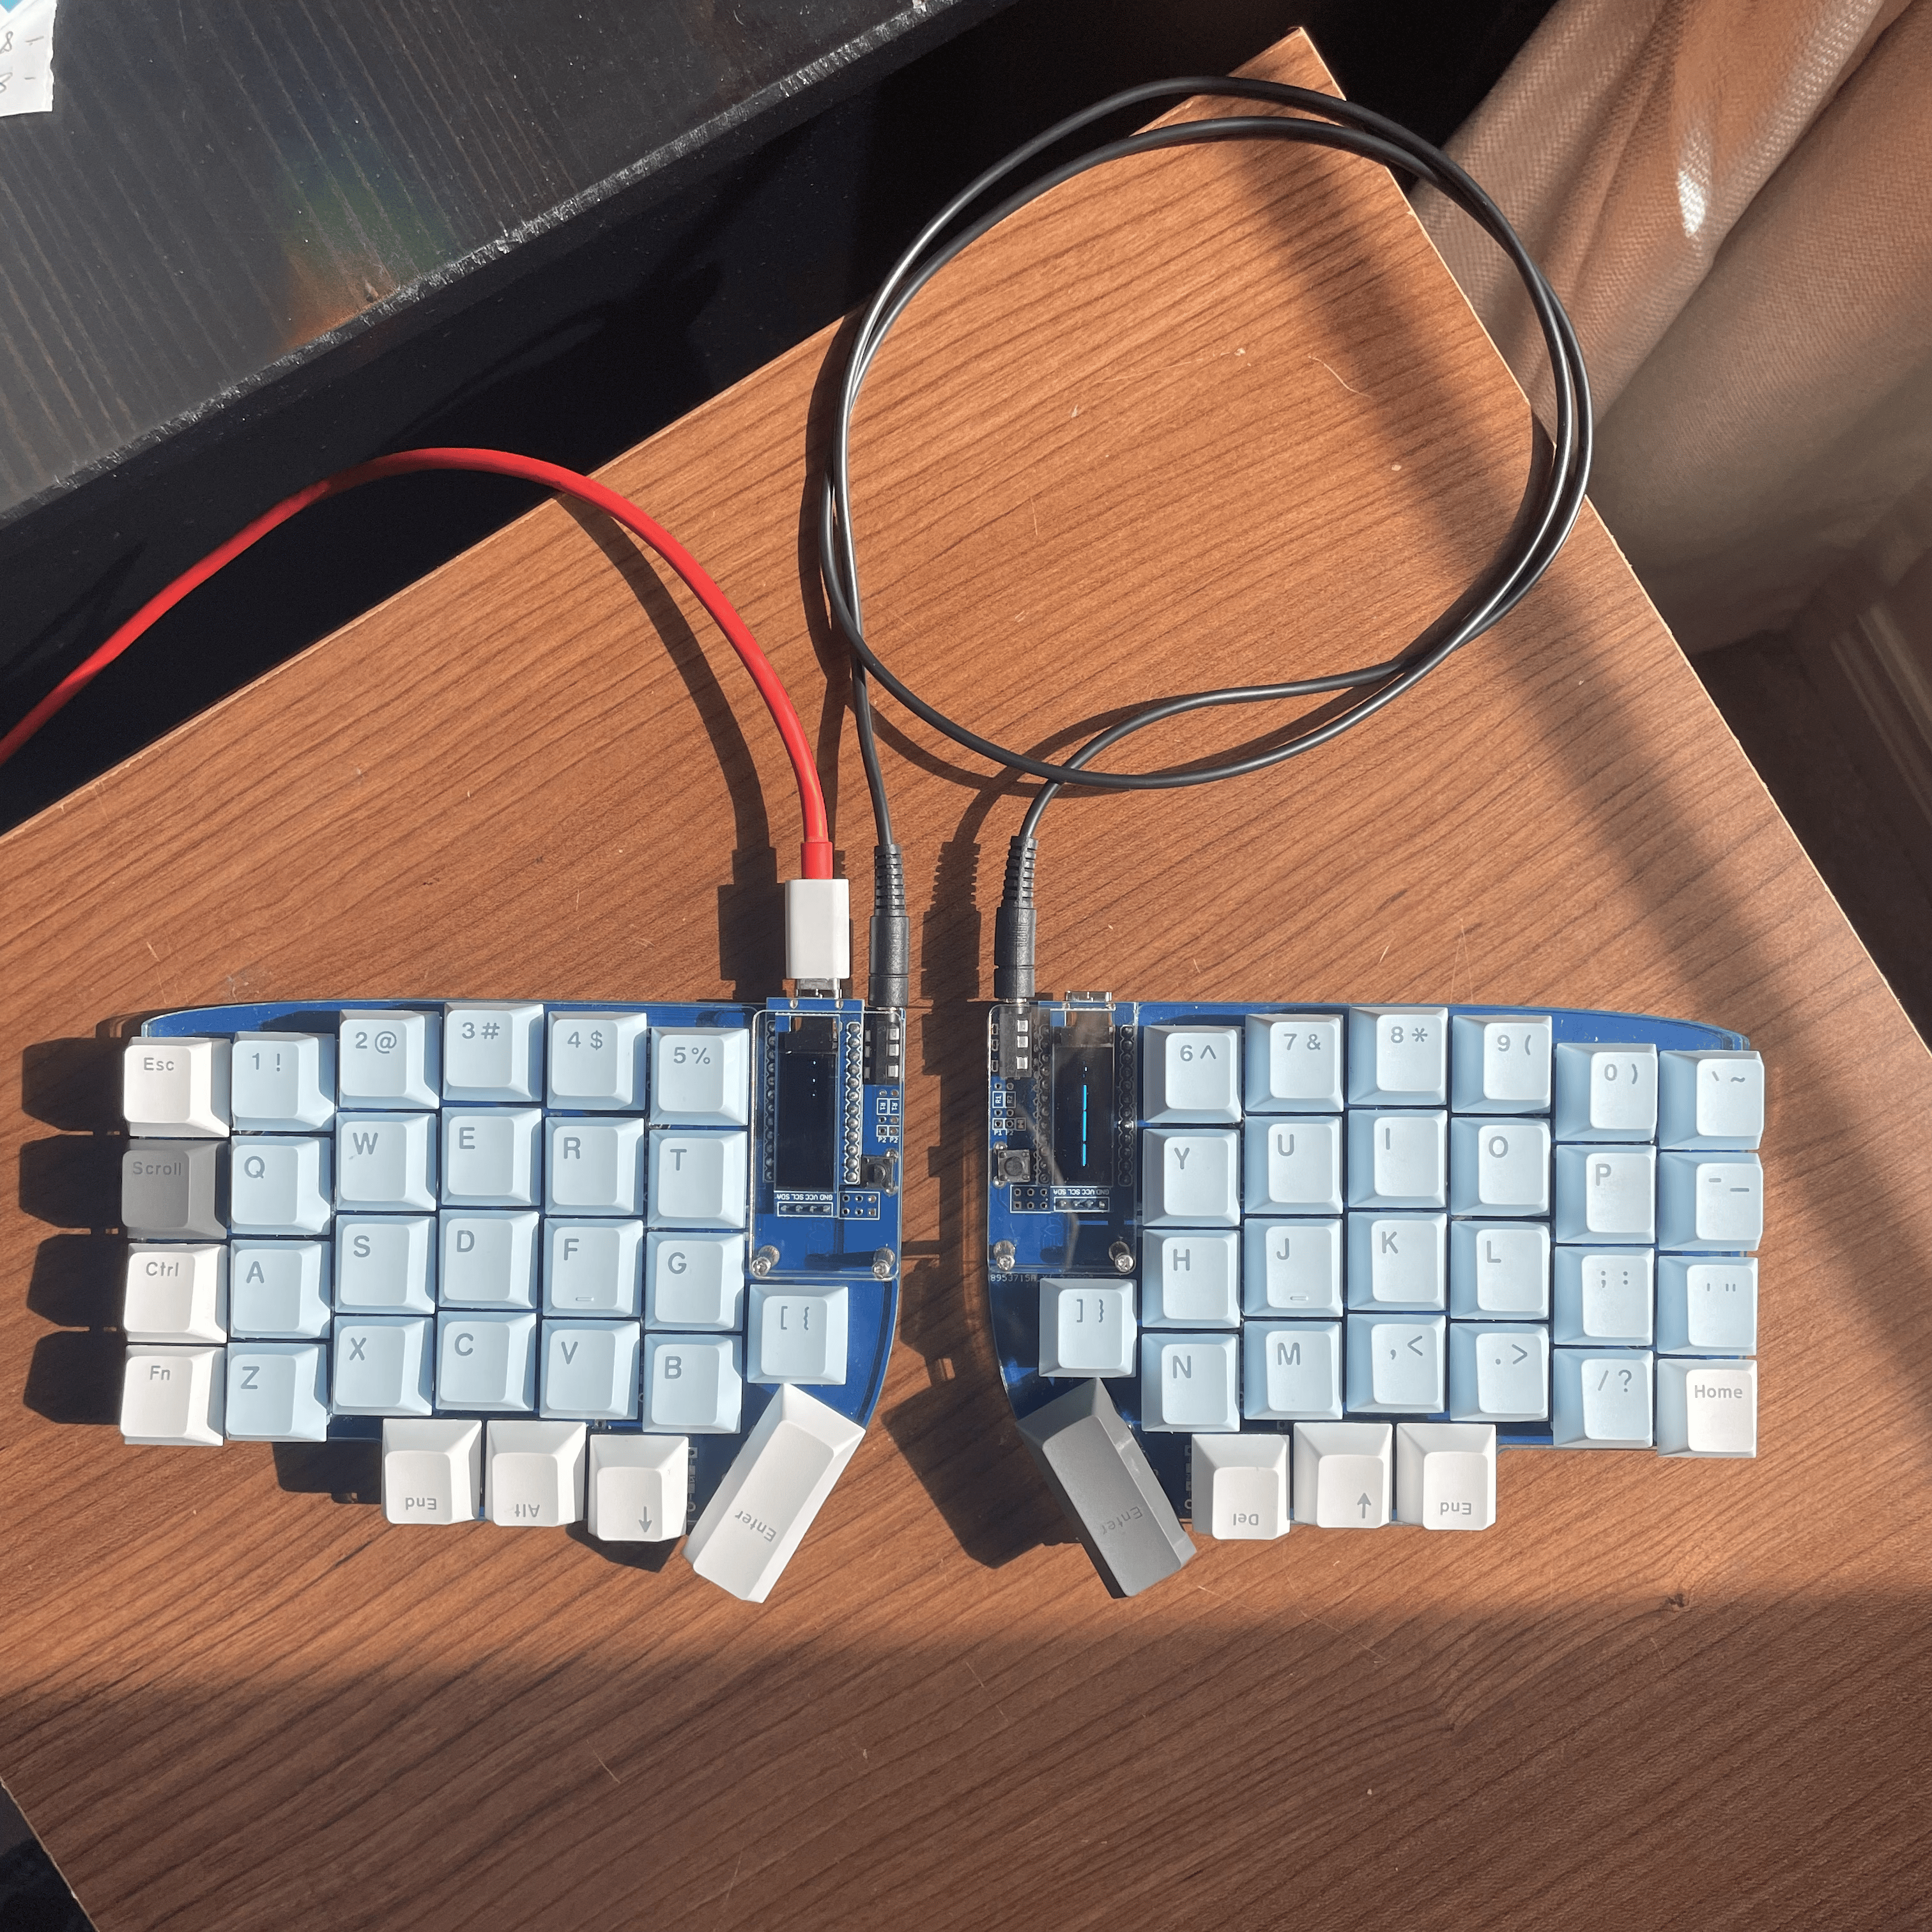 I flipped the thumb cluster keys upside down and it is so comfortable. Fits like a glove, and contributes to the rag-tag look. Animated Firmware: r/olkb
 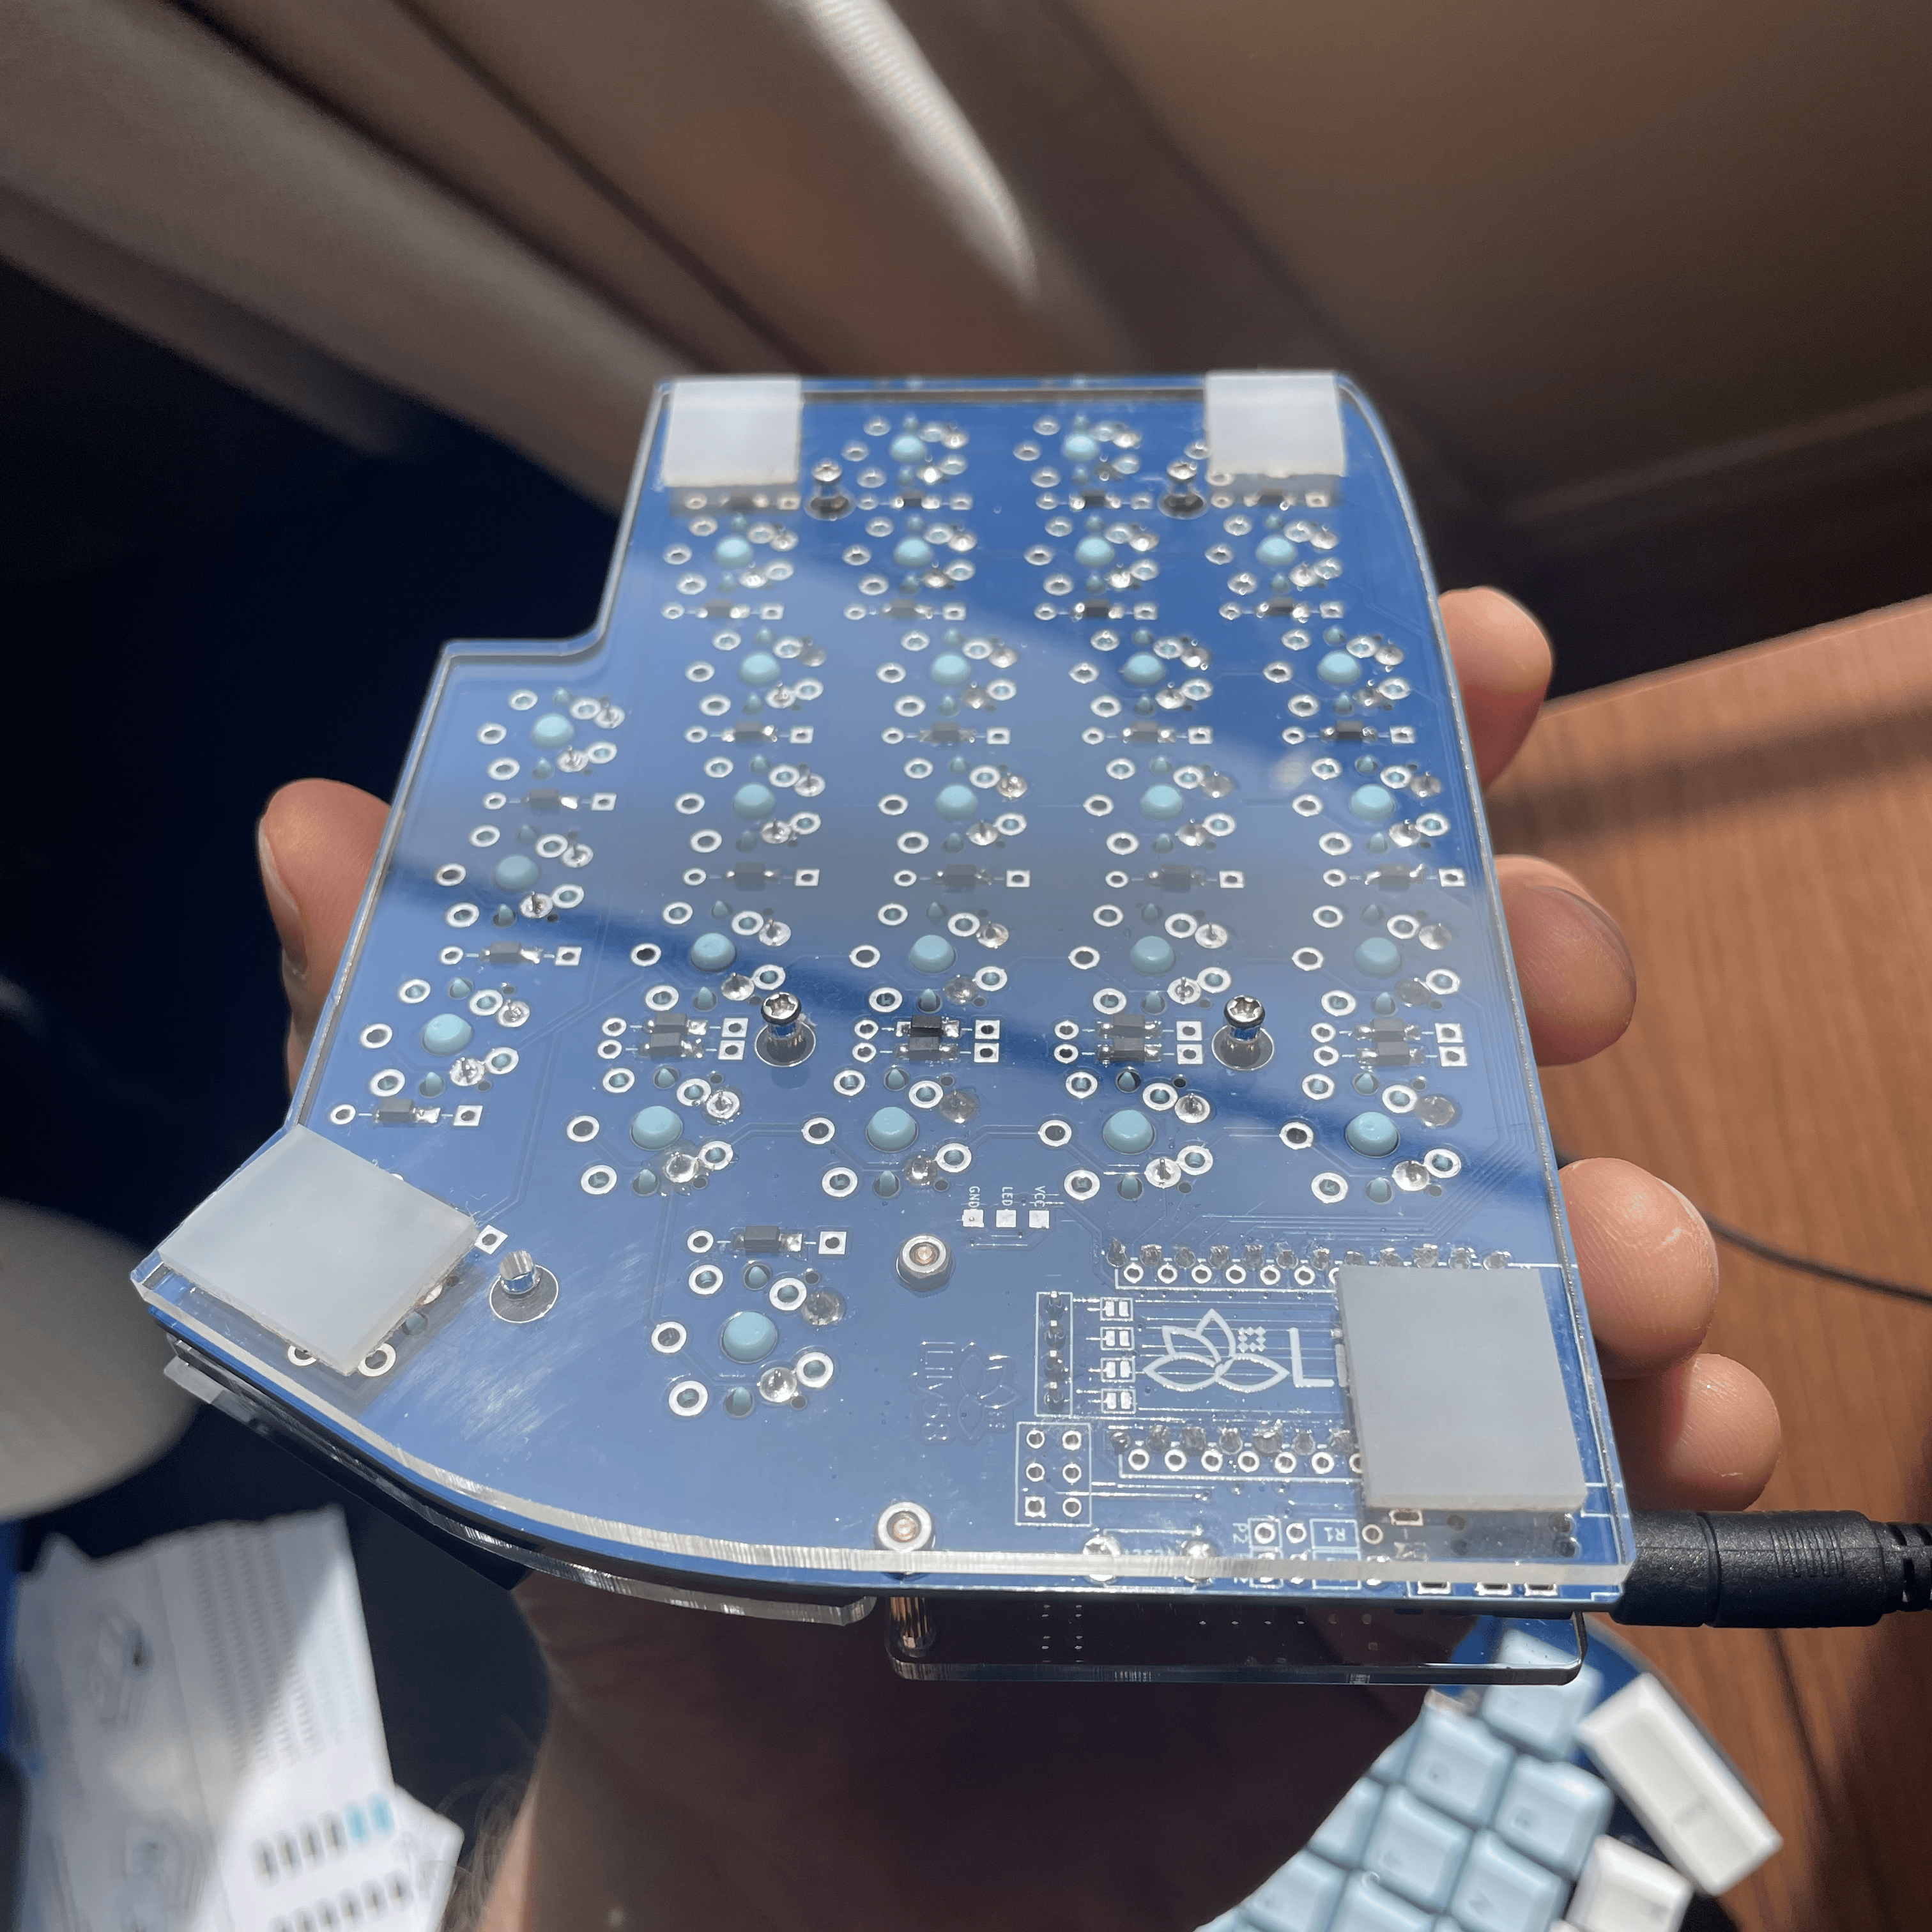 The clear acrylic shows off the soldering work nicely.
The Learning Curve
Lucky enough to have a slow week at work and employed the jump-in-the-deep-end approach. I used my new keyboard every day for about a week to just do typing practice, and the most barebones of command-line Linux navigation. The most practice was spent on stubborn bottom-row keys like Z, X and C, and the crossover keys like Y and T and B that must be pressed with a certain hand (unless you want to move your whole hand across the split gap - a little defeating of the whole journey).
After about a week of this slow burn learning, I was up to a comfortable 30-50 WPM that I could use to do some minimal text editing and typing messages to coworkers. A couple more weeks of this and I was back to a solid 80 WPM and not really even noticing that I was using a different keyboard anymore. I was still not up to my 100 WPM that I could comfortably reach on a regular keyboard, but I chalk this up to not practising seriously - I will resume again in a little while.
The only problem I still have would be the brackets, parentheses and braces used often in my C files, but this is something I am still working out with my layer organization. Currently, I press and hold my LOWER key to access these keys when they would normally be the P and - keys in my layout. Holding LOWER + SHIFT grants access to the curly braces and parentheses. Not the most efficient or comfortable, but I prefer to use a layout for a while before making changes, to see if it is a layout issue or an adjustment issue. I think this one is now becoming a layout issue, and something I look forward to configuring with the QMK ToolBox, a great visual editor for keyboard layouts using the QMK firmware.
Other Thoughts
If you’re reading this, go for it! Thanks for reading!